


Vape Coil Replacement Guide (Step-by-Step)


Vape coils are one of the most important components of any vaping device. Over time, coils wear out due to heat and e-liquid residue, which can affect flavor, vapor production, and overall performance. Learning how to replace a vape coil properly helps maintain a smooth vaping experience and prevents burnt taste.
In this guide, you’ll learn when to replace your vape coil, how to change it step-by-step, and tips to make your coils last longer.
What Is a Vape Coil?
A vape coil is the heating element inside your tank or pod. It consists of a metal wire wrapped around cotton or wicking material. When the device is activated, the coil heats up and vaporizes the e-liquid absorbed in the cotton.
Coils eventually degrade due to:
- Heat exposure
- E-liquid residue buildup
- Sweet or high-VG liquids
- Frequent vaping
When the coil stops working efficiently, it needs to be replaced.
Signs Your Vape Coil Needs Replacement
Most coils last 5–14 days, depending on usage and e-liquid type. You may need a new coil if you notice:
- Burnt taste when vaping
- Weak flavor or muted taste
- Reduced vapor production
- Gurgling or leaking from the tank
- Darkened or clogged coil
Replacing the coil promptly helps prevent damage to your device and ensures consistent flavor.
Tools You May Need
Before replacing your vape coil, gather the following:
- Replacement coil compatible with your device
- Paper towel or cloth
- Your vape tank or pod
- E-liquid for priming the coil
Having everything ready makes the process quicker and cleaner.
Step-by-Step: How to Replace a Vape Coil
1. Remove the Tank From the Device
Unscrew the vape tank or pod from the battery/mod. This allows you to access the internal components safely.
2. Empty Remaining E-Liquid (Optional)
If the tank still contains e-liquid, pour it out or hold the tank upright to avoid spills during the replacement.
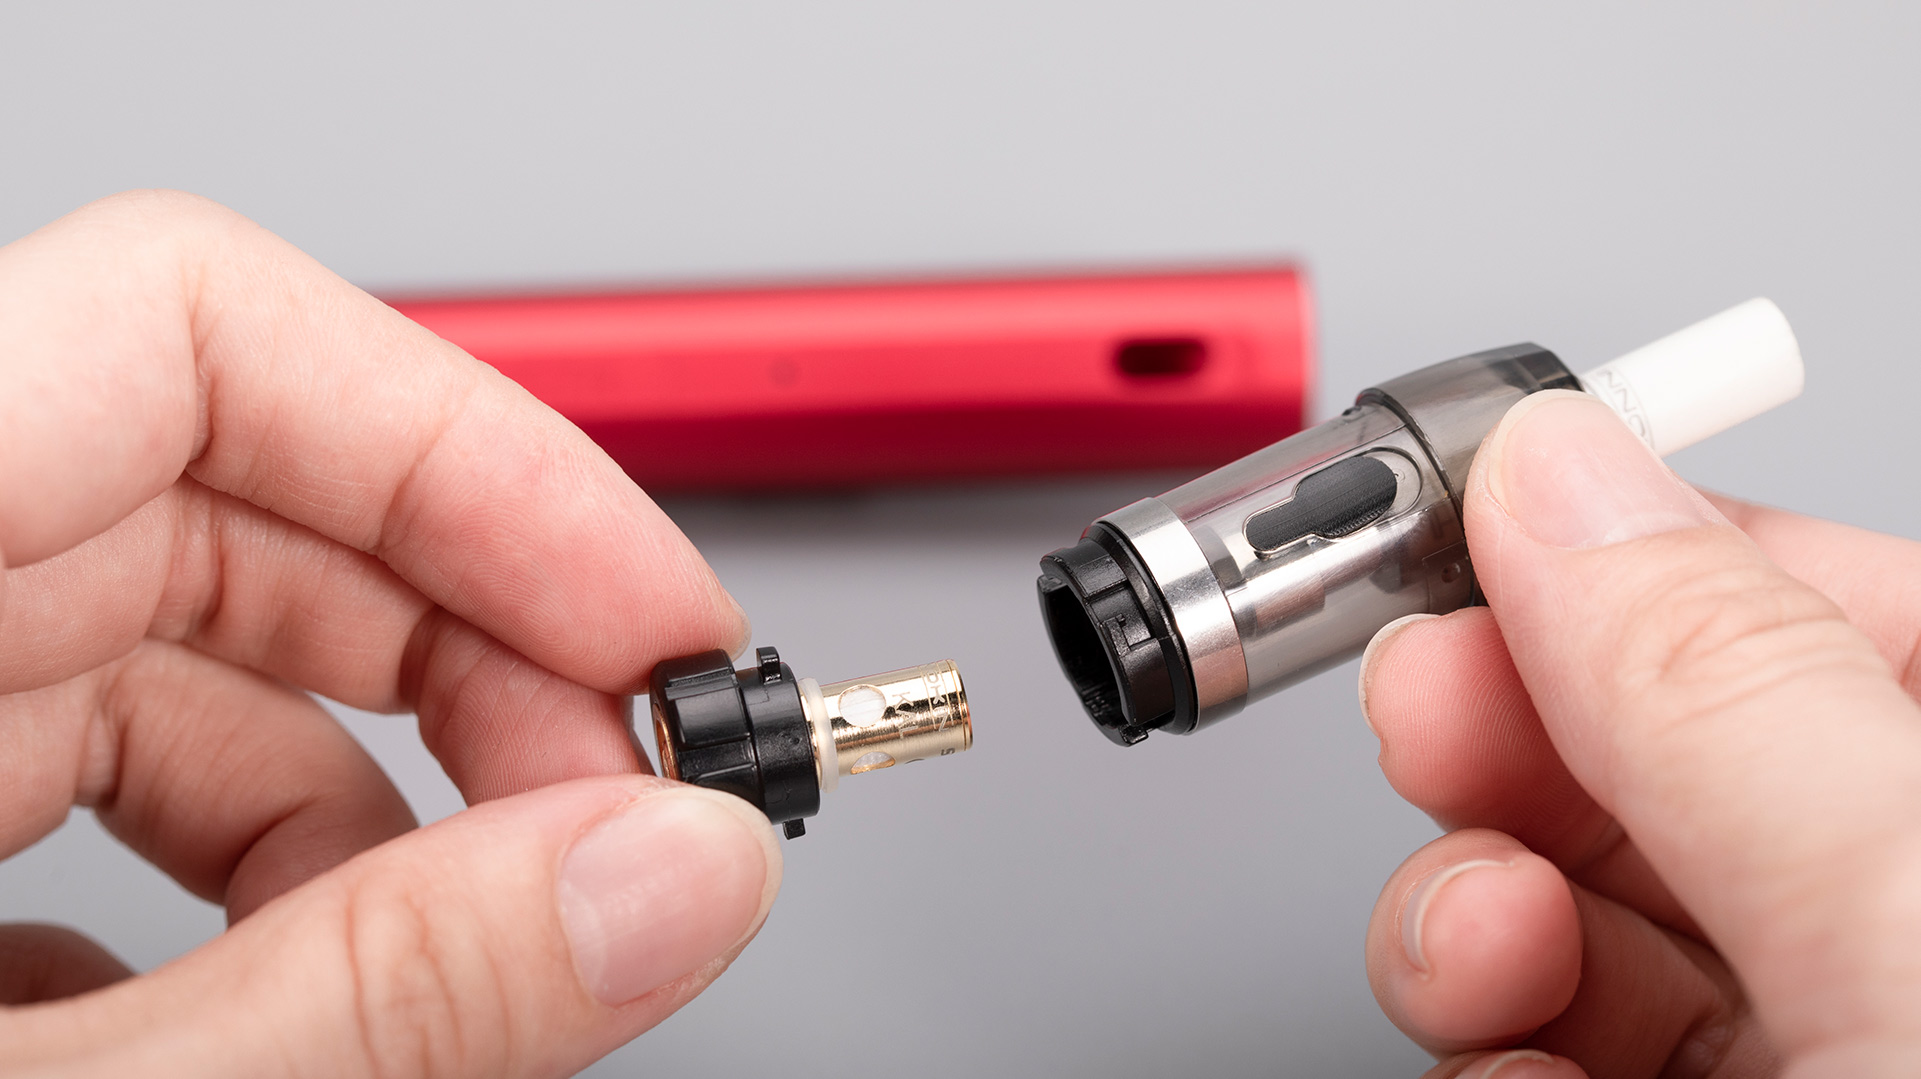
3. Unscrew the Old Coil
Turn the tank upside down and locate the coil at the base. Unscrew the old coil counterclockwise and remove it carefully.
4. Prime the New Coil
Before installing the new coil, add a few drops of e-liquid directly onto the cotton openings. This step is called priming and helps prevent dry hits.
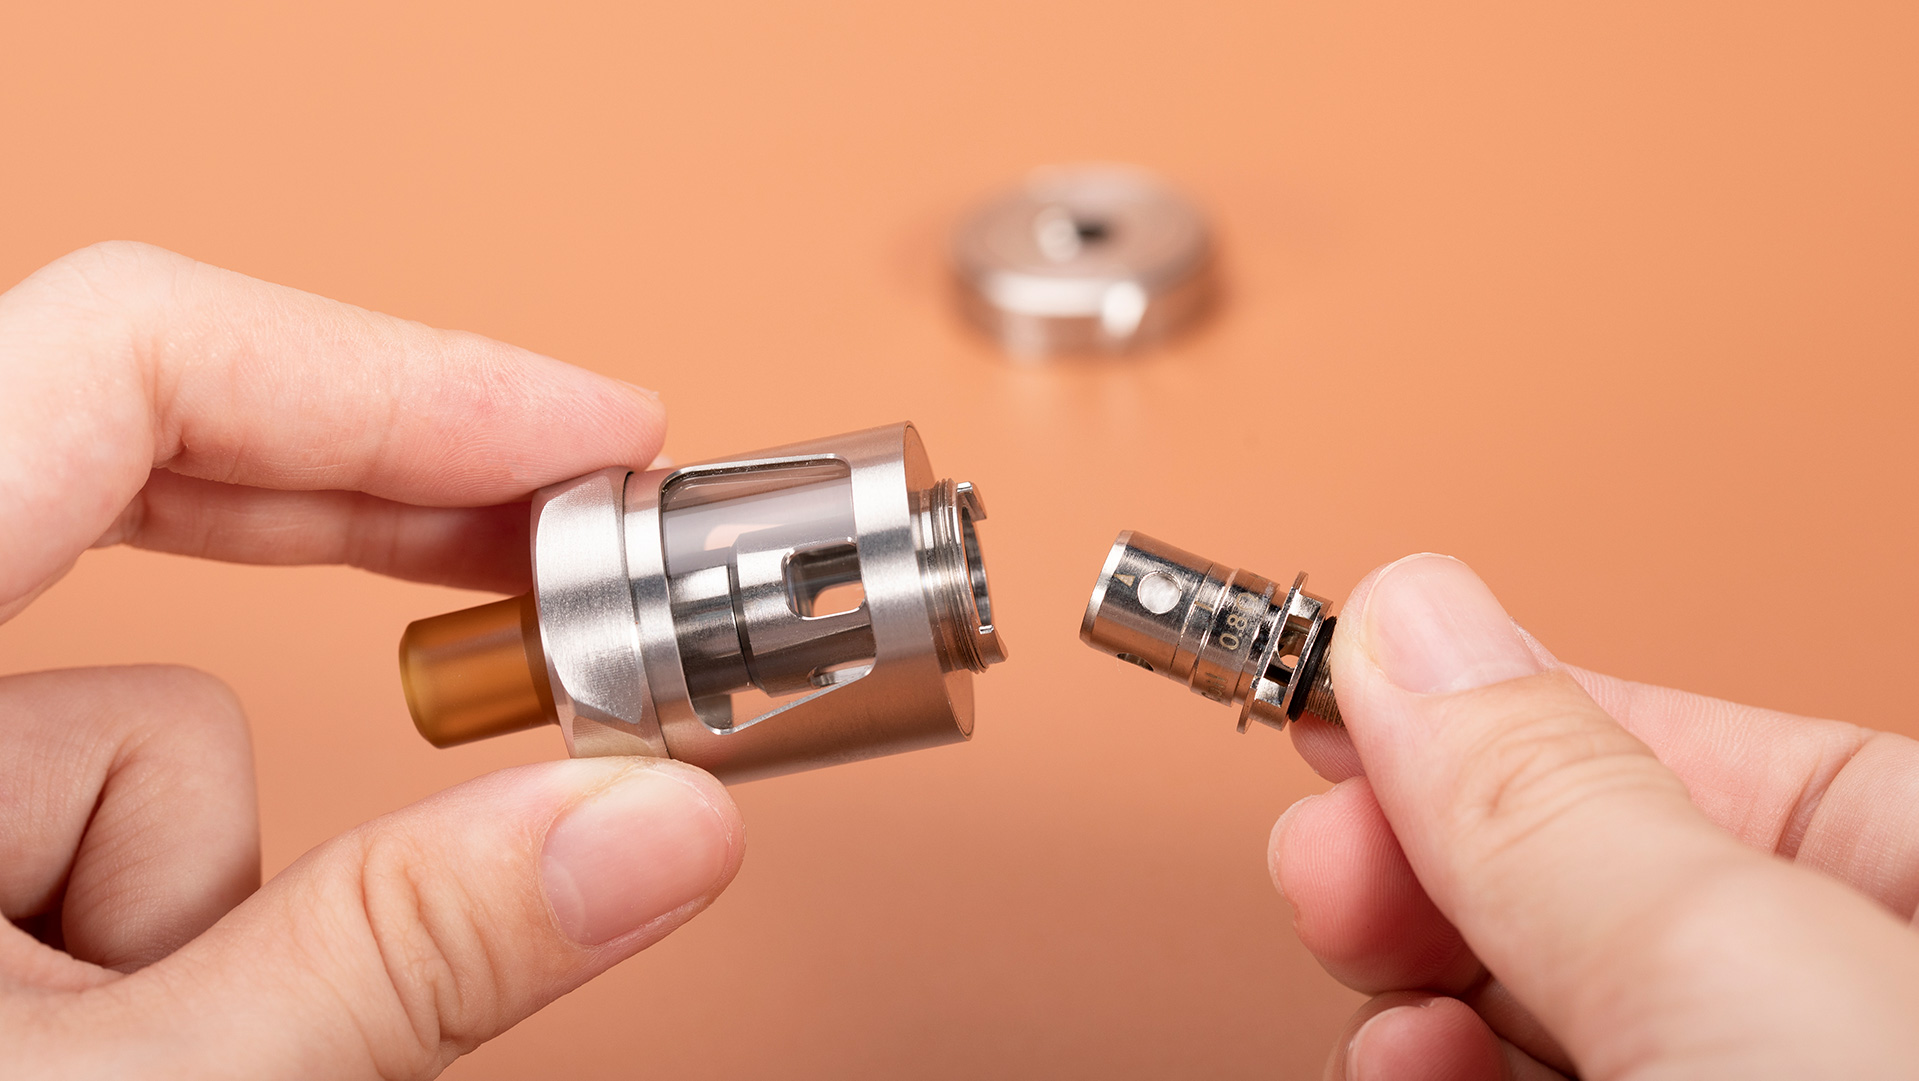
5. Install the New Coil
Screw the new coil firmly into the tank base, making sure it is secure but not overtightened.
6. Refill the Tank
Fill the tank or pod with your preferred e-liquid and reassemble the device.
7. Let the Coil Soak
Wait 5–10 minutes before vaping. This allows the cotton wick to fully absorb the e-liquid and prevents burning.
Tips to Make Your Vape Coil Last Longer
Replacing coils regularly is normal, but you can extend their lifespan by following a few simple tips:
Avoid chain vaping
Taking frequent puffs without breaks can overheat the coil.
Use recommended wattage
Stay within the manufacturer’s recommended wattage range to prevent burning the coil.
Prime every new coil
Skipping priming can instantly burn the cotton wick.
Choose the right e-liquid
Very sweet liquids can cause coils to clog faster.
Pod Systems vs Tank Coils
Different vape devices use different coil systems:
Pod systems
Many modern pod systems use built-in coils, meaning the entire pod is replaced when the coil wears out.
Sub-ohm tanks
These devices use replaceable coil heads, making coil replacement simple and cost-effective.
Understanding which system your device uses helps you maintain it properly.
Final Thoughts
Replacing a vape coil is a quick and simple process that every vaper should know. By recognizing the signs of coil wear and following the proper replacement steps, you can maintain strong flavor, smooth vapor, and better device performance.
Regular coil maintenance not only improves your vaping experience but also helps your device last longer.
FAQ
How often should I replace my vape coil?
Most coils last between one and two weeks, depending on how frequently you vape and the type of e-liquid used.
Why does my vape taste burnt after changing the coil?
A burnt taste usually occurs when the coil was not properly primed or the cotton wick did not soak long enough before vaping.
Can I clean a vape coil instead of replacing it?
Cleaning may temporarily improve performance, but coils are consumable parts and eventually need replacement.